Advanced - Fresh Hetzner server with 2X 3TB HDD and 120GB SSD?
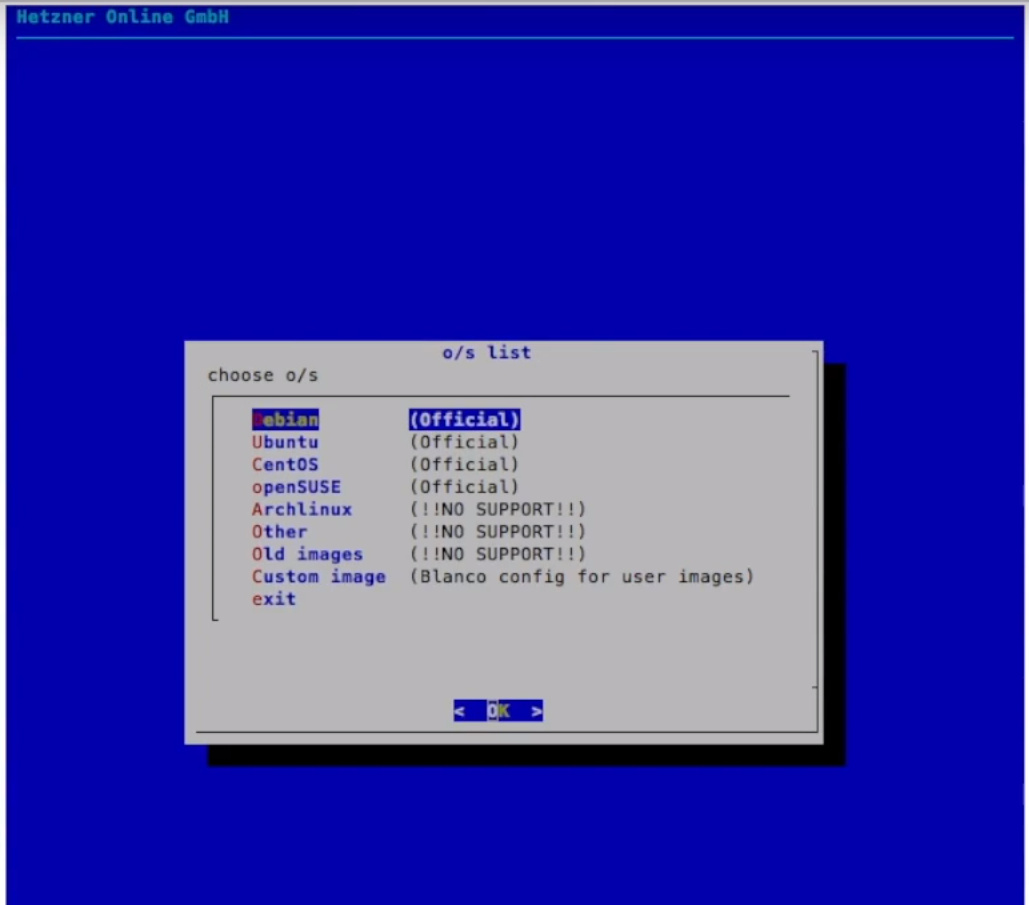
First steps.
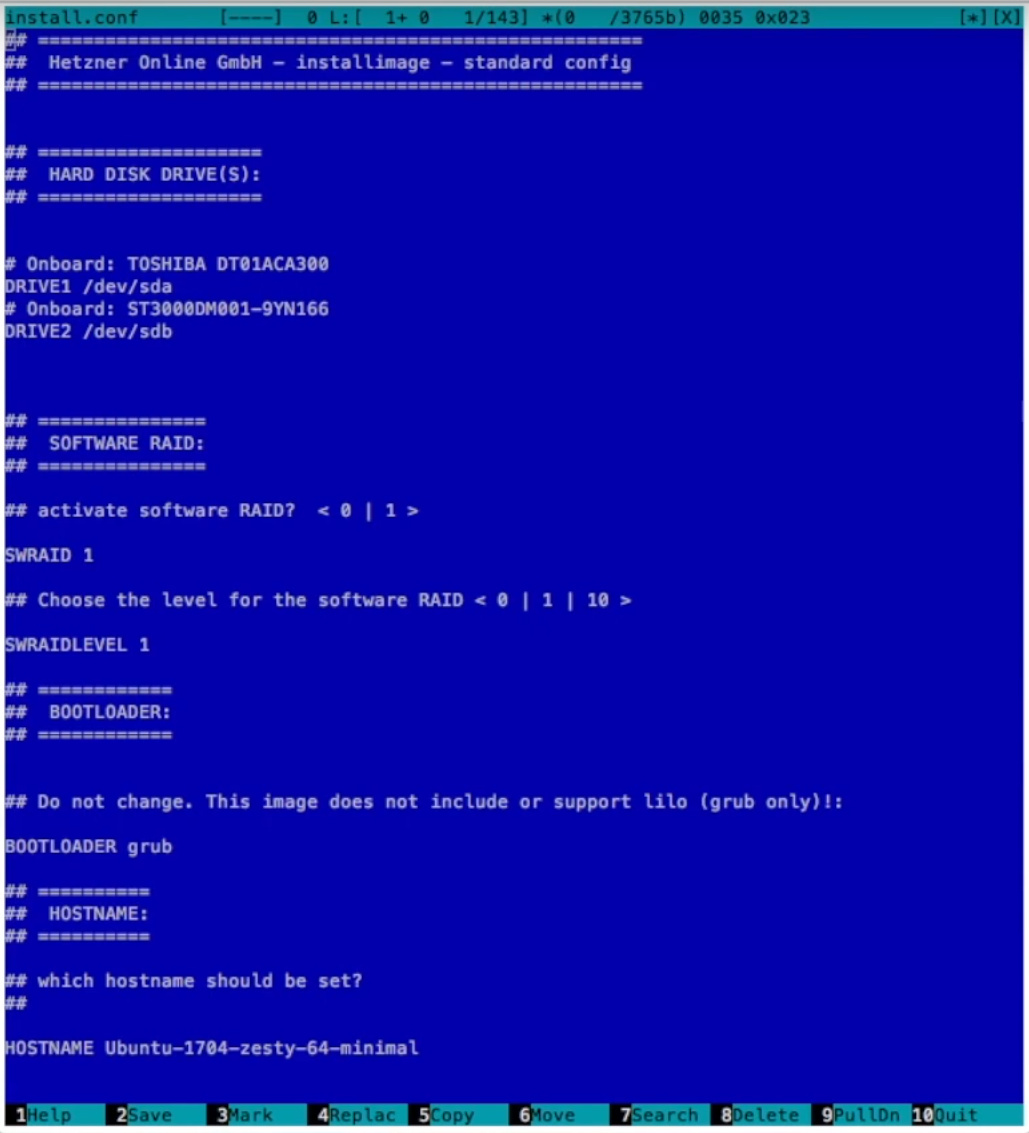
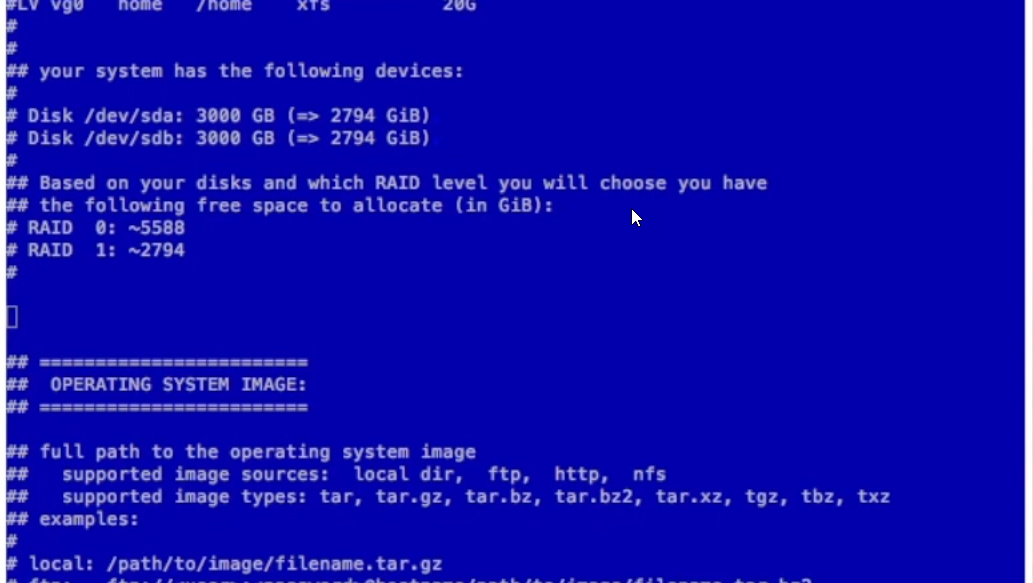
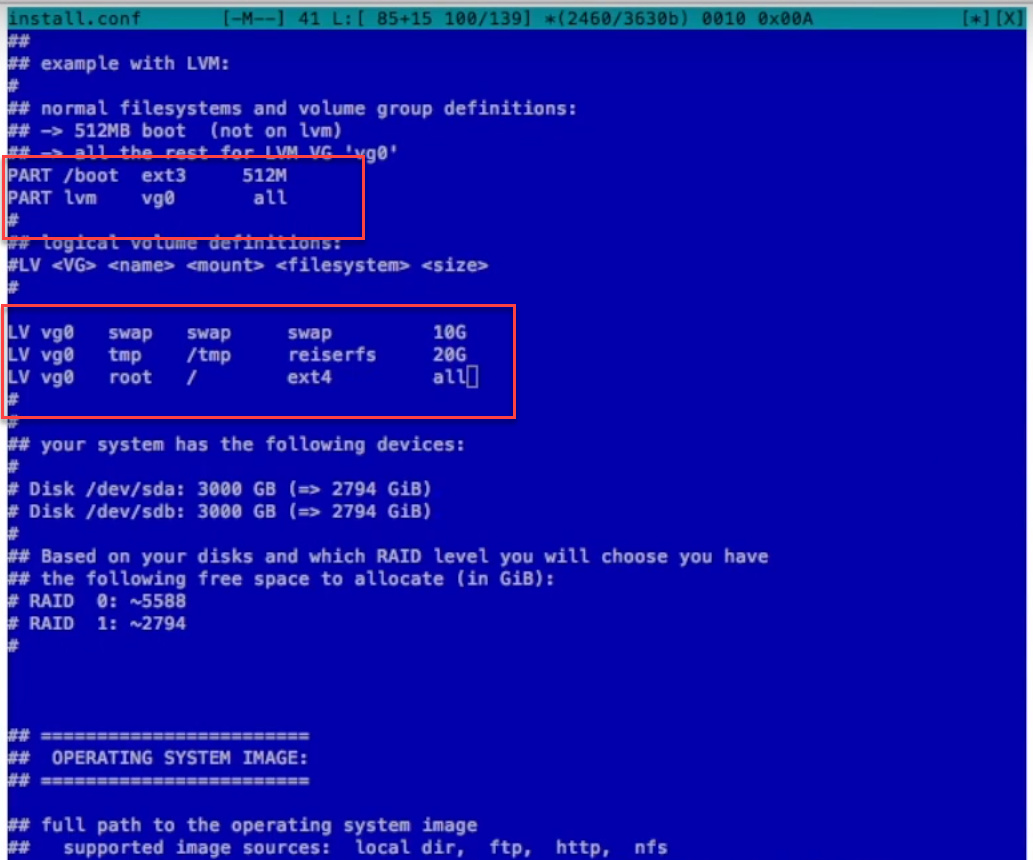
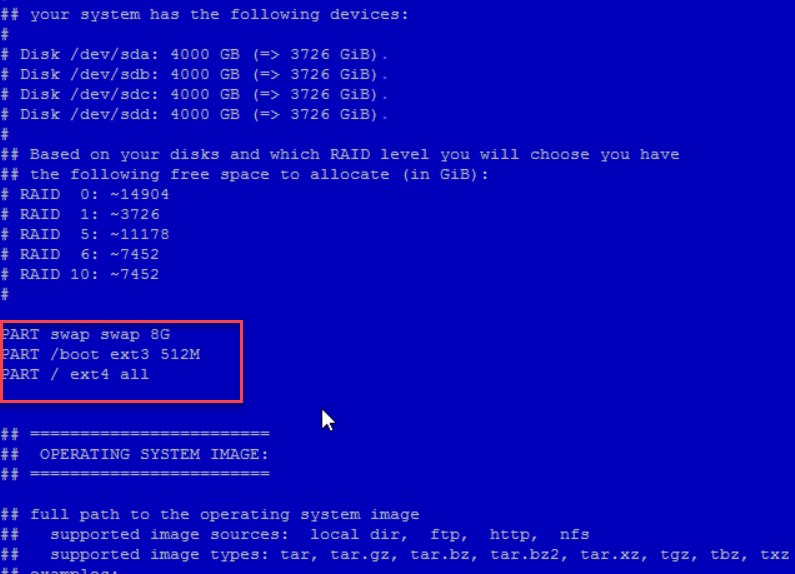
In the installimage you´re going to comment out the 2 HDDS’s.
Just put an # in front of them.
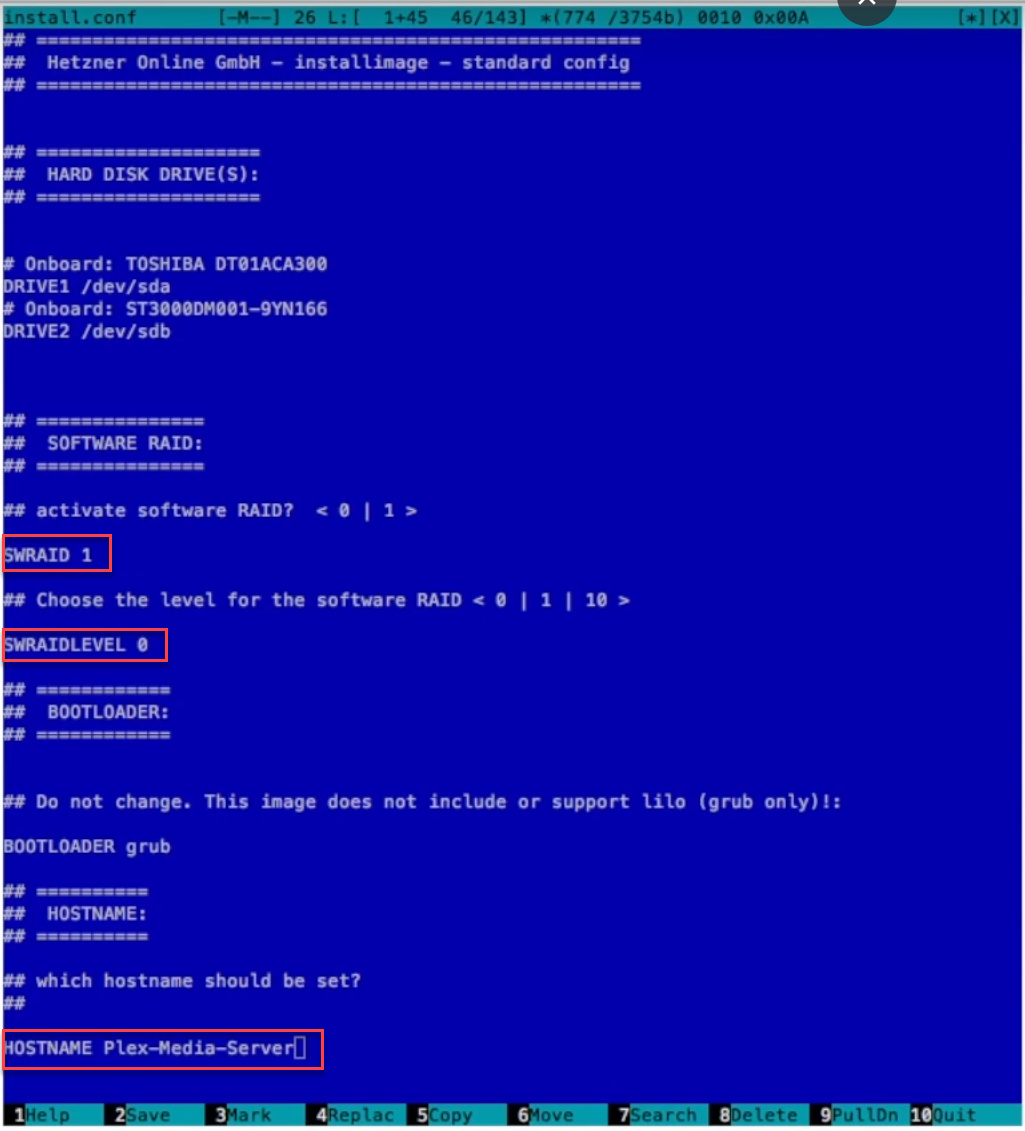
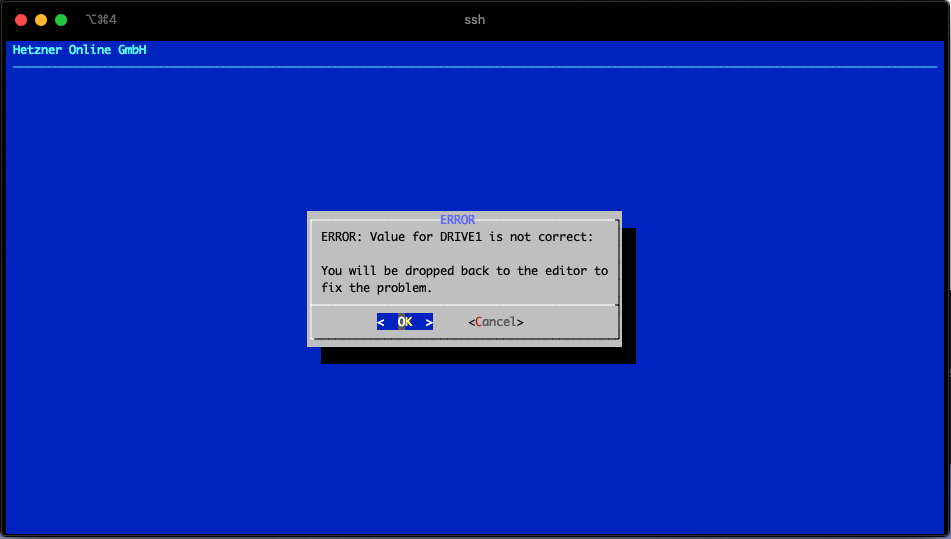
Make sure you disable SWRAID by setting it to 0 and SWRAIDLEVEL can be set to anything since it wont utilize it.
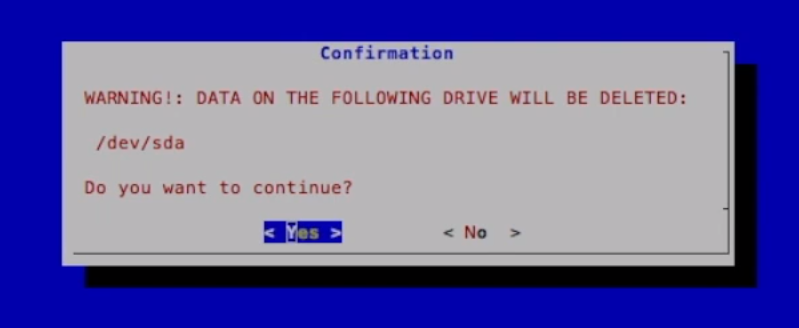
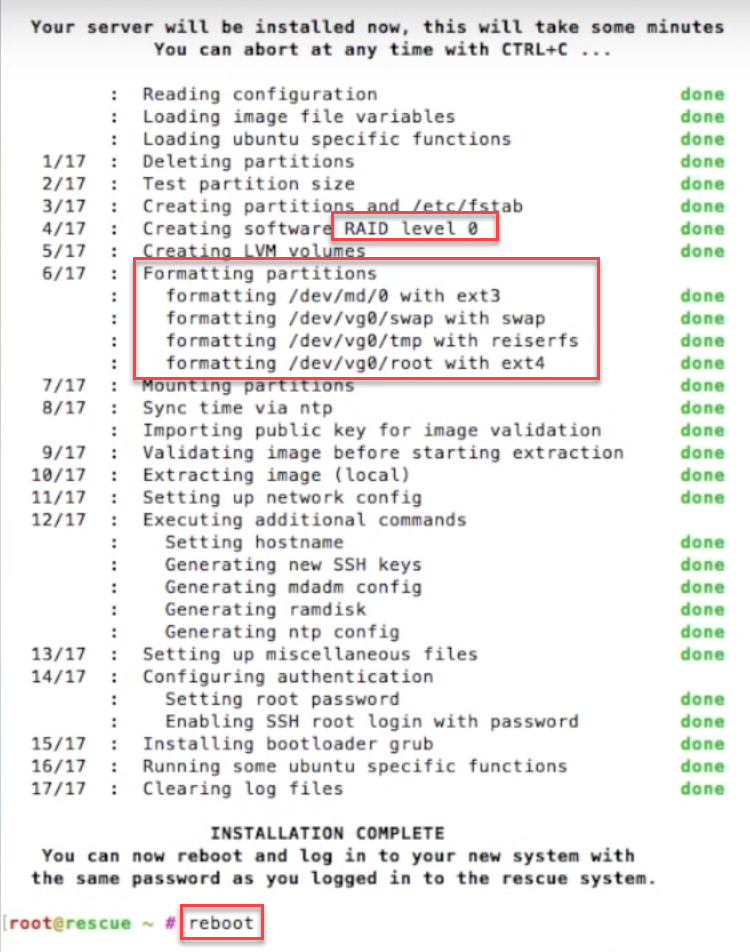
Just hit F10 and accept the warnings.
After linux is done installing you´ll need to reboot like shown in the initial part of this guide in the section above!
Secondly when reboot is done.
First run lsblk to grab the name of each drive youre looking for /dev/sda and /dev/sdb you wont need the SSD obviously
For each drive you’ll need to type fdisk /dev/sdx replace the x with the letter of the drive. and you´ll want to use option n to make a new partition, just go ahead and use the smaller value for start and biggest value for last sector since I´m sure you want to utilize the whole drive, then option p to print the partition table then option w to finalize the whole thing. repeat for all the drives involved.
Once that´s done type the command ls /dev/sd[a-d]* this will list each of the drives and their partitions and the output should look something like this /dev/sda /dev/sda1 /dev/sdb /dev/sdb1 /dev/sdc /dev/sdc1 /dev/sdd /dev/sdd1 mind you will only list devices within that scope therefore you´ll probably only have 4 entries.
After that you´ll want to fire up mdadm and create a raid array but we will be doing it using the partition device files and not the disk devices. You´ll be using /dev/sda1 and /dev/sdb1 instead of /dev/sda and /dev/sdb for this.
Anyways type in the command mdadm --create --verbose /dev/md0 --level=0 --raid-devices=2 /dev/sda1 /dev/sdb1 you´ll want to change /dev/md0 in the command above to something not already being used and you´ll want to change /dev/sda1 and /dev/sdb1 to the appropriate letters and numbers. You can take note of what mdx is being used when you run lsblk you can also change the raid level from 0 to 1 if you want/need the security of not losing your files.
Next you´ll want to type the command ls -l /dev/disk/by-uuid and take note of the entries that are there. You should NOT see an entry for your new array.
You are going to type the command mkfs.ext4 -F /dev/md0 make sure you swap /dev/md0 with whatever you used before.
Then you´ll want to type the same command again from the previous step ls -l /dev/disk/by-uuid and you should see a new entry. copy that new entry but you only need the UUID so it should look similar to lrwxrwxrwx 1 root root 11 Jul 18 17:12 c9399944-da22-456a-8c6b-d768ac3471b1 -> ../../md4 you only need the c9399944-da22-456a-8c6b-d768ac3471b1 part.
Lastly we need to add the whole thing to your fstab file.
Type nano /etc/fstab and add the entry. You should be adding something like this to the bottom of the file
UUID=c9399944-da22-456a-8c6b-d768ac3471b1 /path/to/mount ext4 auto 0 0 only things you need to change are the UUID and the /path/to/mount for obvious reasons. hit ctrl+x then y and enter and you´re all goof.
Now you may be wondering…
“Athelmil, why do you mount with the UUID instead of the /dev/mdx format everyone uses?”
Great question from a random internet user. The reason is because sometimes for no apparent reason that i can find linux likes to rename stuff. I setup my array using /dev/md4 and after a reboot it gets renamed to /dev/md127. So had i mounted it in fstab as /dev/md4 the system won´t boot and creates a headache that takes you over a week to figure out why it doesn´t work. You can ask me how i know that last part! 
/Athelmil